PIXMA TR4720 USB Setup - Mac OS
PIXMA TR4720 USB Setup - Mac OS
- Knowledge
Learn how to set up your printer to work with a Mac via USB.
USB Setup - Mac OS X Computers
To be able to use the printer to print or scan on a Mac, applications need to be installed on the computer.
The instructions / screenshots below show how to set up your computer to use the printer via USB.
To begin the setup, first download the setup file
Get the Setup File
Read the information taking note of the information concerning warning messages that may appear during setup then click the "Download" button.
-
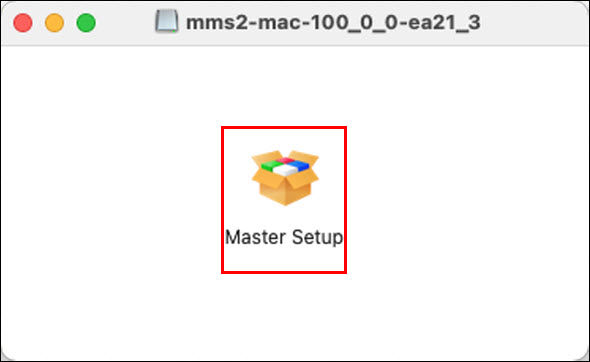
Double-click the Master Setup icon after you have downloaded and opened the setup file.
If you are prompted to open the file, select Open or the appropriate affirmative option.
-
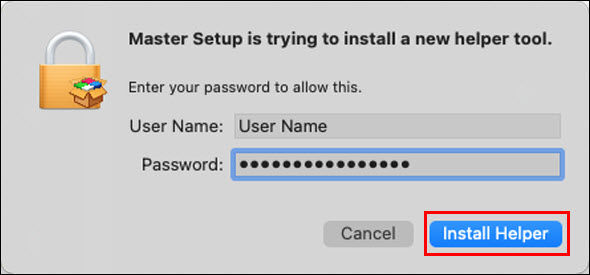
Enter your computer User Name and Password then select Install Helper.
-
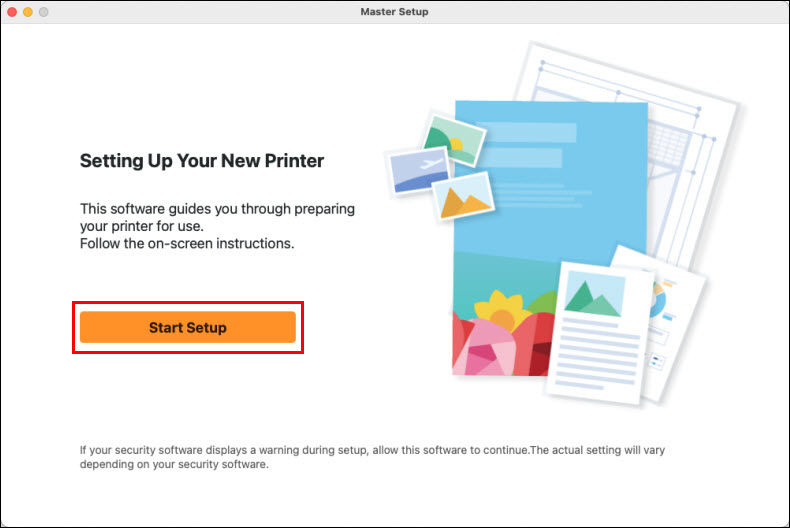
Select Start Setup
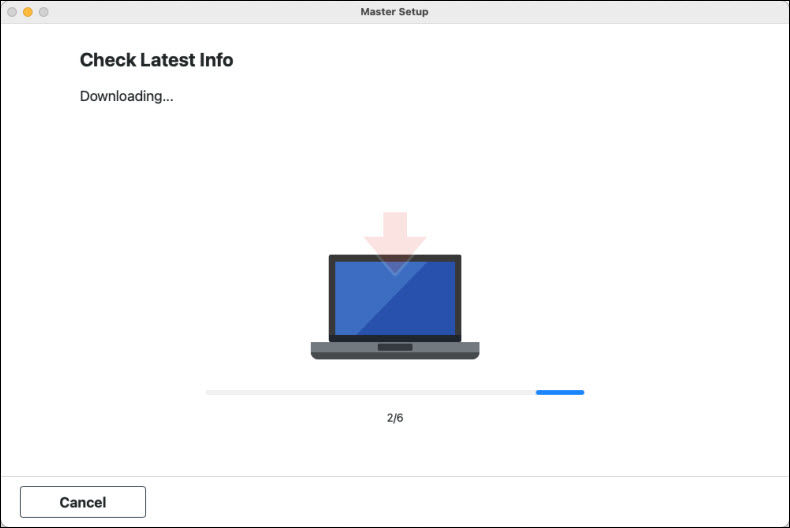
The installer will acquire information on the latest software for the printer. This may take several minutes.
-
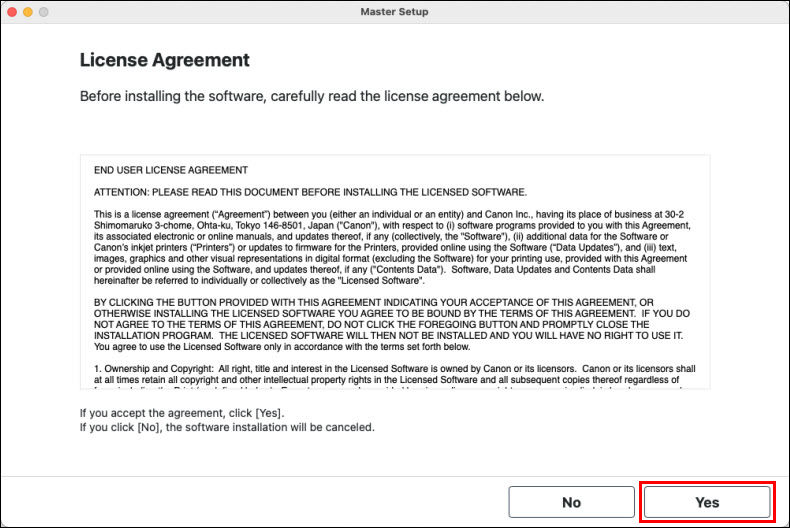
Select Yes on the License Agreement.
-
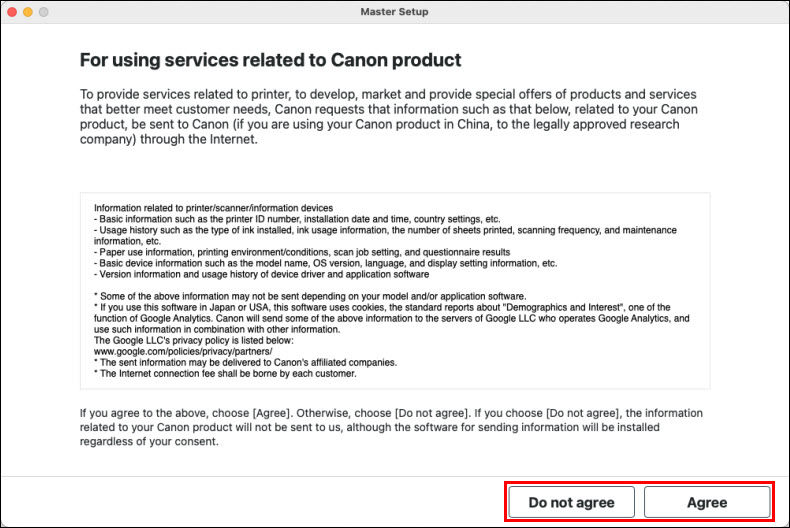
Select Agree or Do not agree.
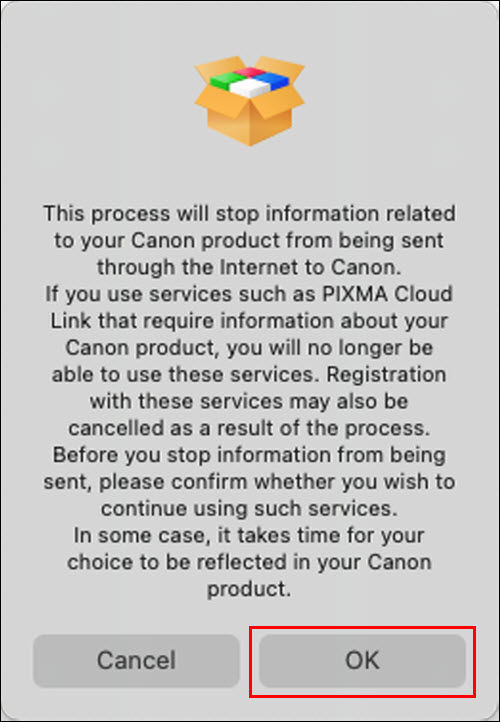
If you select Do not agree, the following message will appear. Select OK to proceed.
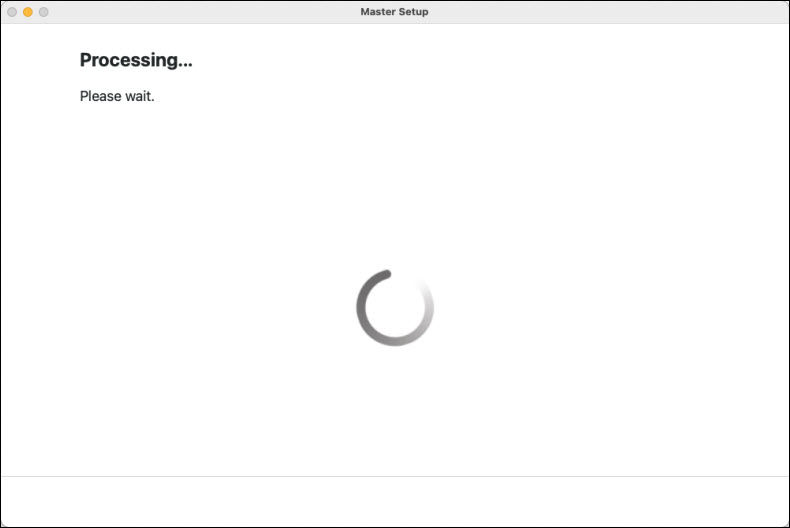
The installer will process for a few moments.
-
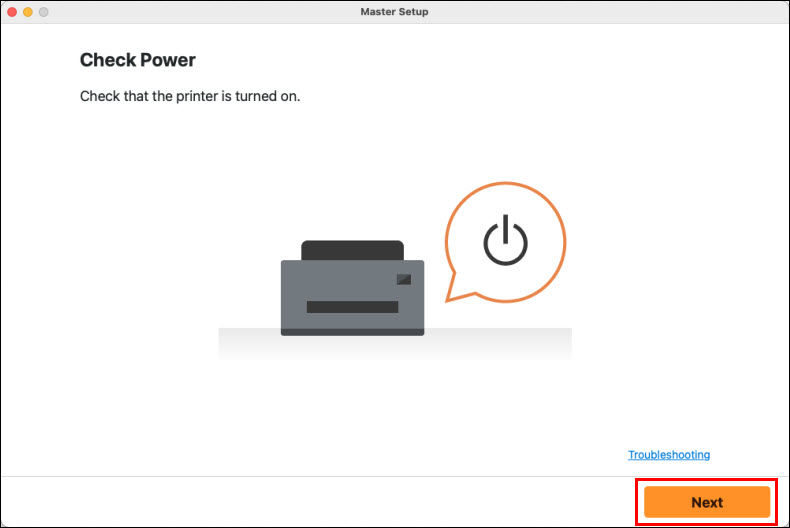
Click Next.
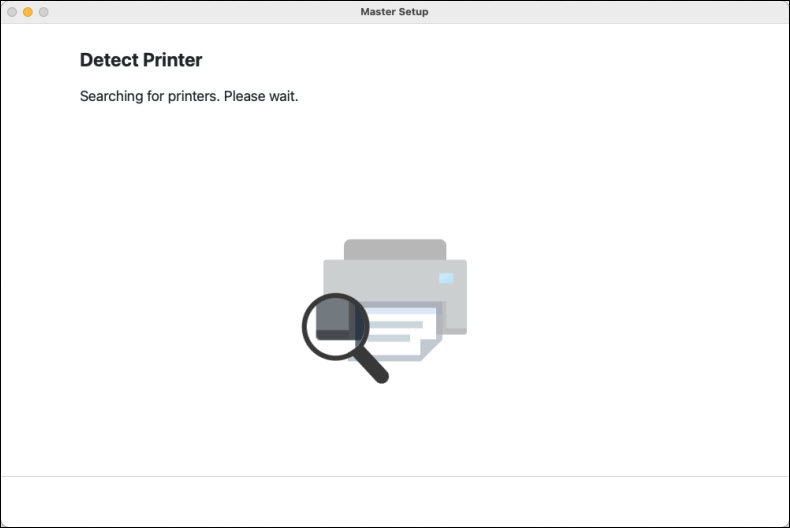
The installer will search for the printer. This may take a few moments.
-
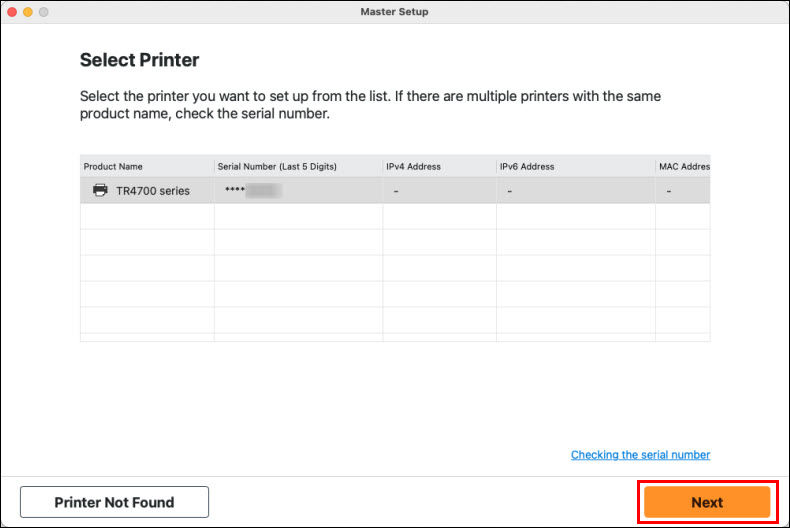
Select your printer, then click Next.
-
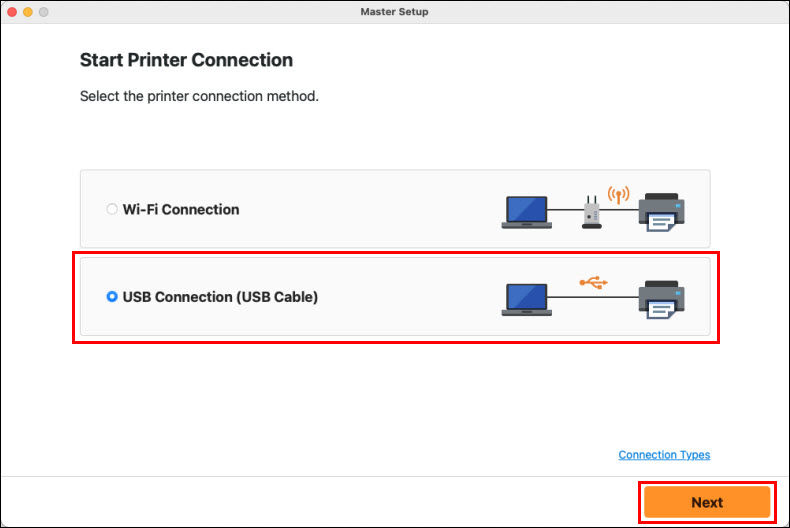
Select USB Connection (USB Cable) on the Start Printer Connection screen, then select Next to proceed.
The installer will ensure that the printer is connected to the computer.
IJ Scan Utility will be downloaded and installed. This may take several minutes.
-
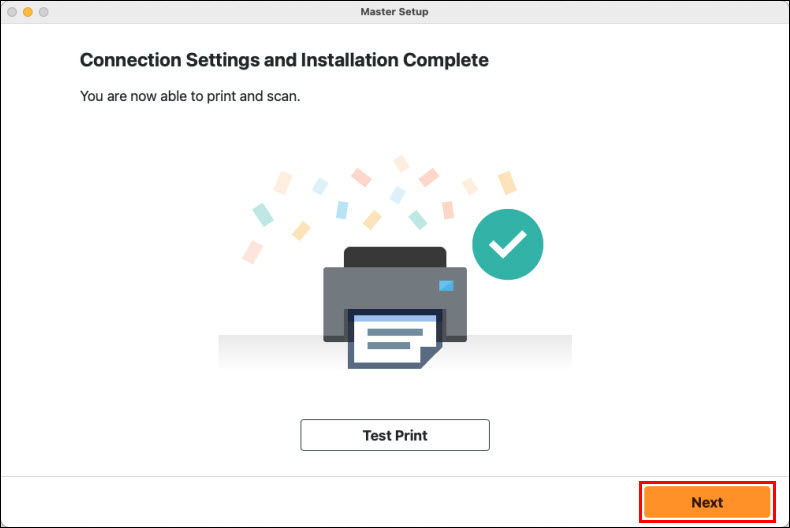
Select Next.
-
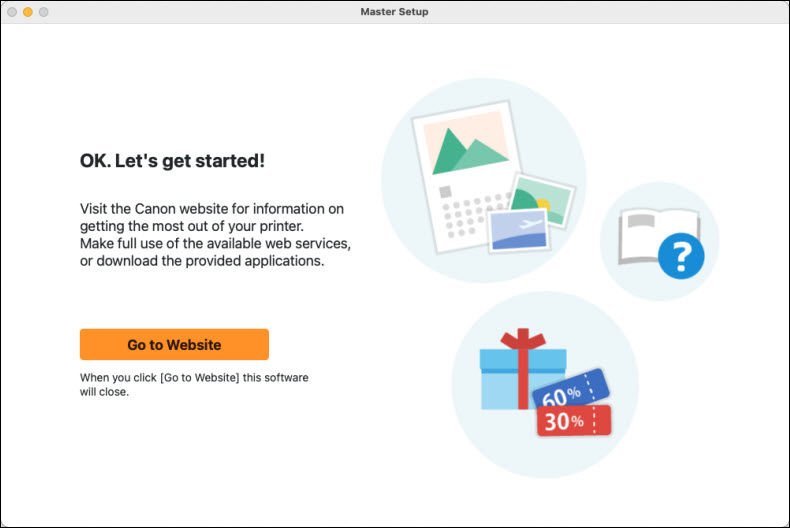
Click Go to Website to open a web browser, which will take you to the Canon website to download additional software for your printer.
If your product issue was not resolved after following the steps above, or if you require additional help, please create or log in to your Canon Account to see your technical support options.
Comments
Post a Comment